
-100x100.jpg)
-100x100.jpg)


Congratulations on your new camera! Whether you're a budding enthusiast or a seasoned photographer, unlocking the full potential of your new device can be a rewarding journey. Let’s delve into the essentials of getting started with your camera, demystifying the trio of aperture, shutter speed, and ISO.
The Camera's Anatomy: A Brief Overview
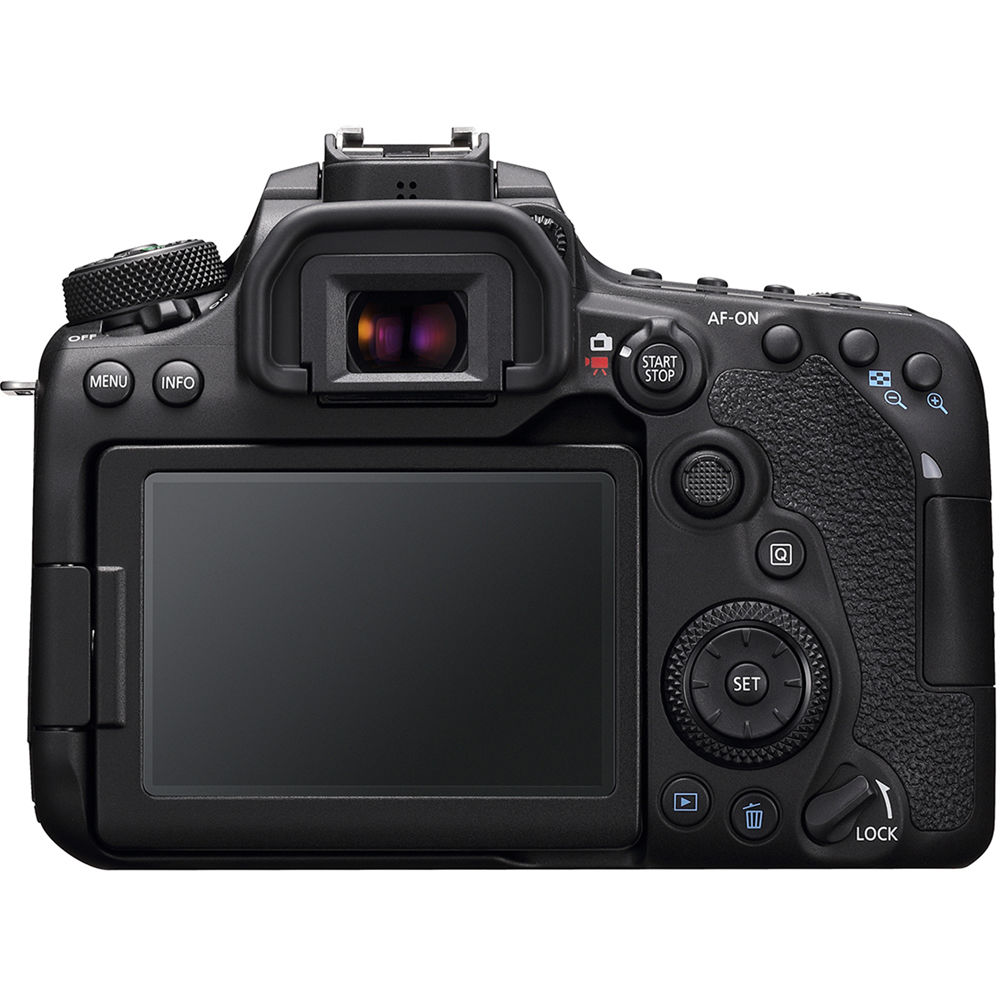
Before diving into the technicalities, familiarize yourself with your camera's basic components. Identify the shutter button, mode dial, and various knobs or buttons that control settings. Understanding your camera's layout will help you navigate its functions with ease.
Aperture: The Eye of the Lens
Imagine the aperture as the eye of your camera lens, controlling the amount of light that enters. Measured in f-stops, a lower f-number (e.g., f/2.8) indicates a wider aperture, allowing more light. Conversely, a higher f-number (e.g., f/16) means a smaller aperture, restricting light. The aperture also influences depth of field; a wide aperture creates a shallow depth of field, perfect for portraits, while a narrow aperture is ideal for expansive landscapes.

Shutter Speed: Capturing the Essence of Motion
Shutter speed determines how long your camera's shutter remains open, exposing the image sensor to light. A faster shutter speed (e.g., 1/1000s) freezes motion, making it perfect for sports or action photography. Conversely, a slower shutter speed (e.g., 1/30s) introduces motion blur, emphasizing movement and creating stunning effects in low-light conditions. Experiment with various shutter speeds to discover their impact on your images.

ISO: Sensitivity to Light
ISO measures the sensitivity of your camera's sensor to light. A low ISO (e.g., 100 or 200) is suitable for well-lit environments, producing crisp images with minimal noise. As you increase the ISO (e.g., 800, 1600), your camera becomes more sensitive to light, allowing for better performance in low-light conditions. However, higher ISO settings may introduce digital noise, affecting image quality. Strike a balance between ISO and lighting conditions to achieve optimal results.
Practical Tips for Mastery
Experiment with Modes: Familiarize yourself with your camera's shooting modes, such as aperture priority, shutter priority, and manual mode. These modes provide varying degrees of control over aperture, shutter speed, and ISO, allowing you to refine your creative vision.
Bracketing: Use exposure bracketing to capture multiple shots of the same scene with different settings. This technique ensures you have a range of exposures to choose from, especially in challenging lighting situations.
Practice, Practice, Practice: Take your camera everywhere and shoot regularly. The more you experiment with settings and scenarios, the more confident you'll become in harnessing the full potential of your camera.
In conclusion, mastering your new camera is a journey of exploration and experimentation. Embrace the learning process, and don't be afraid to make mistakes along the way. Always remember, "In photography, there are no rules; there are only results." Happy shooting!